- iOS
- Android
- Prerequisites
- Download the required files
- Install the downloaded files
- Sample Code
-
API Documentation
- Change Header theme
- Change Screen Background
Theme - Change Back Button theme on Header
- Change List theme
- Change Text Notification Detail
View theme - Change Event Notification Detail
View theme - Change Photos & Videos
Notification Detail View theme - Change Newsletter Notification
Detail View theme - Change Document Notification
Detail View theme - Change Survey Notification
Detail View theme
Sample Code
Once you have added XNotify framework into your project, you can follow the screen shots below for your convenience :
You can start your integration just by calling this method
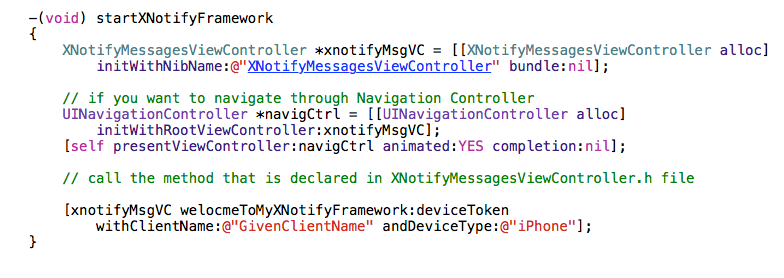
Here -(void) startXNotifyFramework is the method from you can navigate XNotify framework. But don't run your app here, otherwise it may crash. Because there are some methods left that you must need to call. We have described these methods calling and definition in API Documentation section.
How to get device token
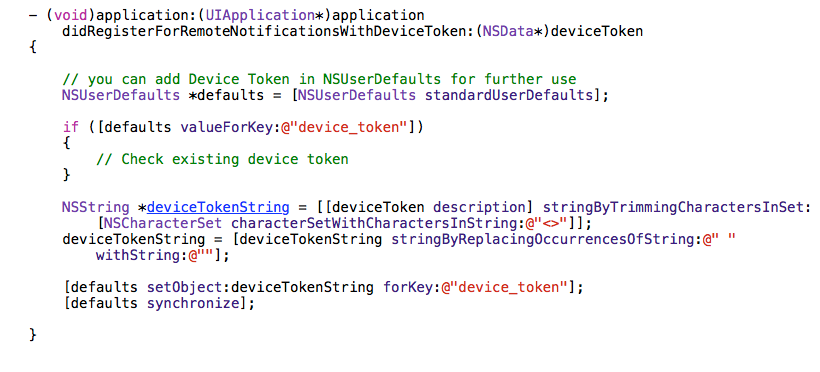
Override the above method in order to get your device token in AppDelegate.h file.
How to get push Notification
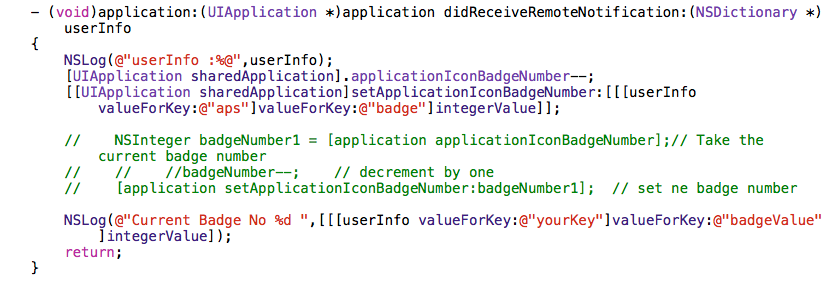
Override this method in your AppDelegate.h file. This method will be called when app will get push Notifications.
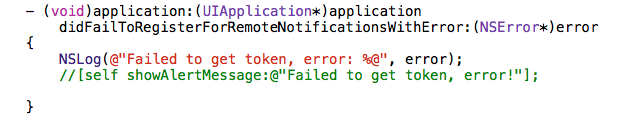
Override this method in your AppDelegate.h file. This method will be called when there will be any error in push notification from server.
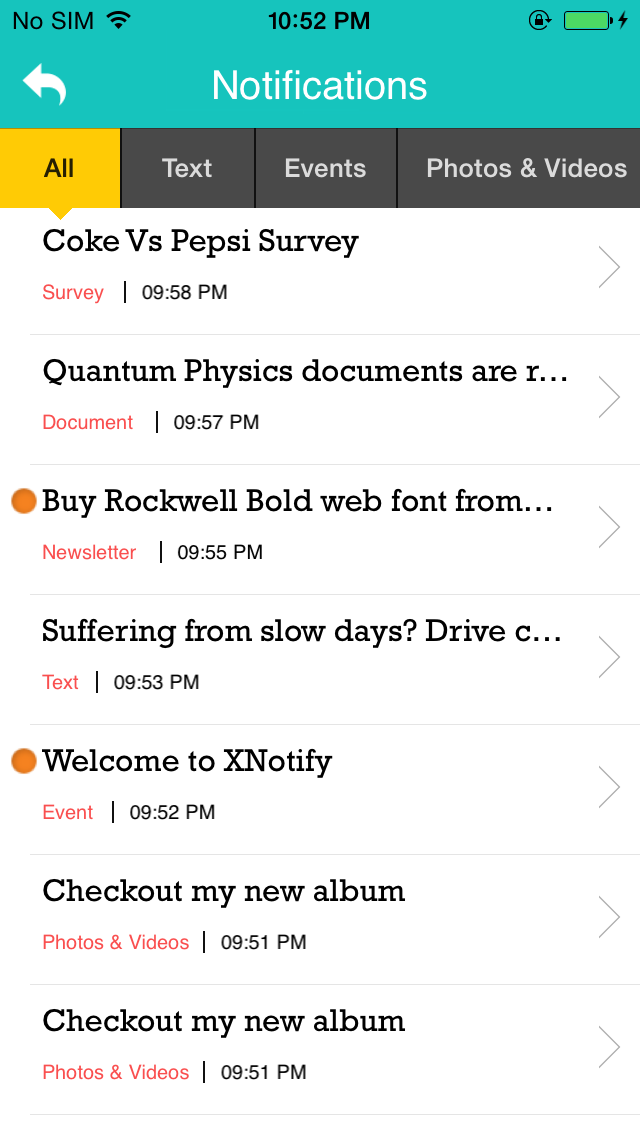
After downloading "Sample App" you will get the app in which XNotify will be already integrated. Your "Sample App" looks like below:
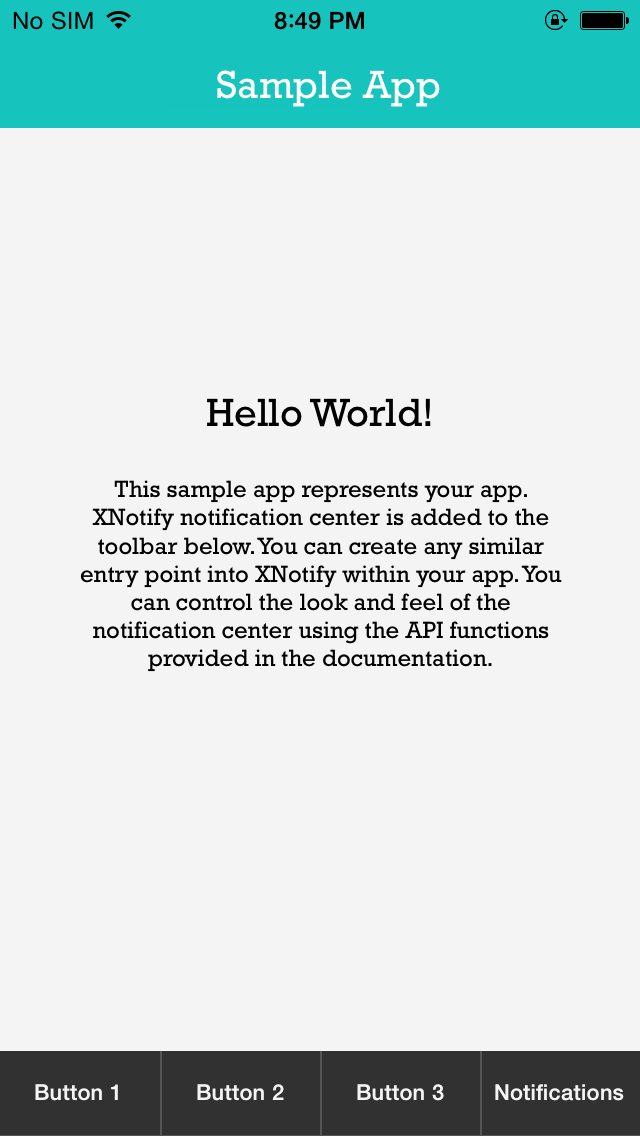
In above image "Notifications" button is the entry point for XNotify notification centre. You can change the entry point as per you need.
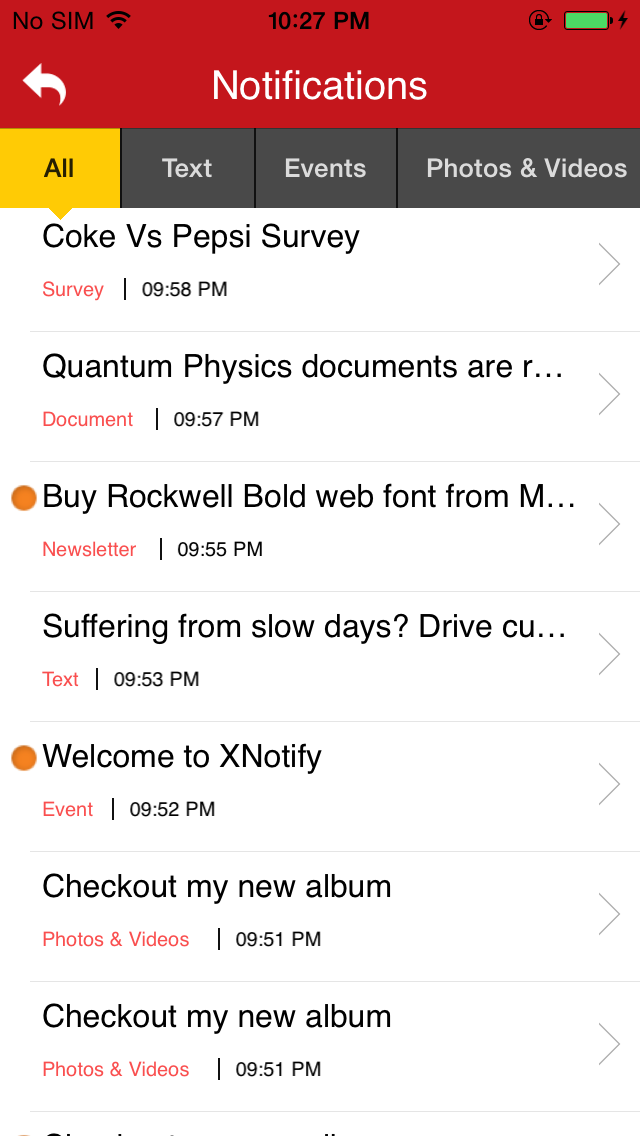
Below is the default colour theme for XNotify inbox, that shows the notification list:
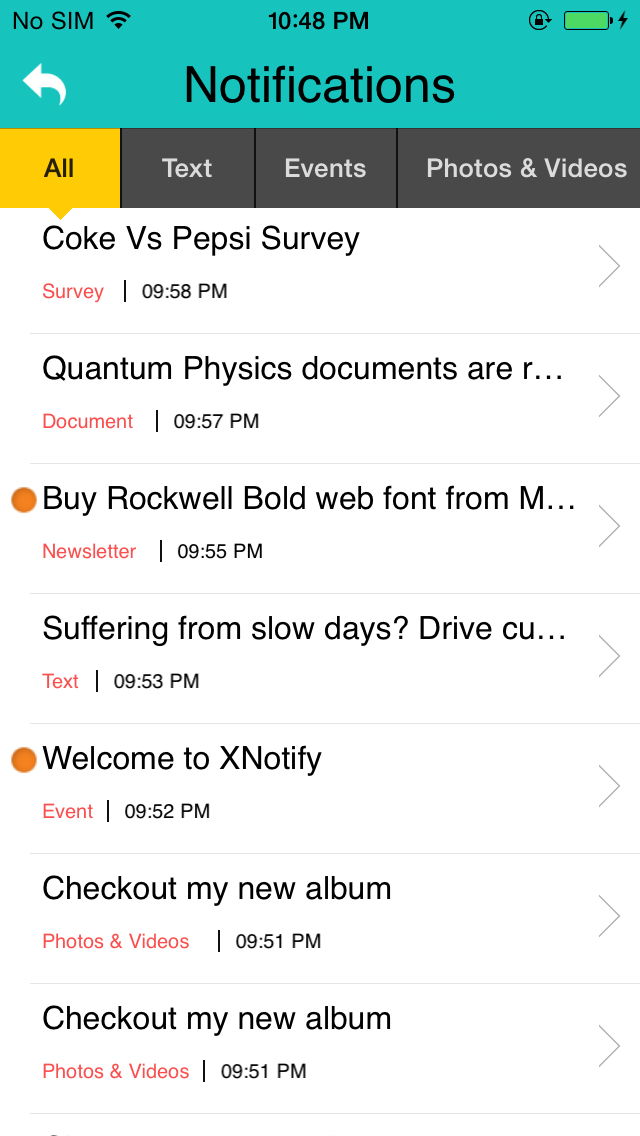
1. You can change Header image by defining and calling the method :
-(void) changeHeaderView:(XNotifyMessagesViewController*) msgVC;
In this method you have to pass image name string
Eg: msgVC.kHeaderPNG = @"headerImage.png";
The changed Header will be like below:

2. You can change Header text colour by defining and calling the same method above:
-(void) changeHeaderView:(XNotifyMessagesViewController*) msgVC;
In this method you have to provide just colour code string
Eg: msgVC.kHeaderTitleHexColorCode = @"#FF00FF";
The changed Header Text Color will be like below:

3. You can change Header text size by defining and calling the method:
-(void) changeHeaderView:(XNotifyMessagesViewController*) msgVC;
In this method you have to provide just size as float
Eg. msgVC.kHeaderTitleSize = @"20.0";
The changed Header Text Size will be like below:
4. You can change Header text typeface (font) by defining and calling the method:
-(void) changeHeaderView:(XNotifyMessagesViewController*) msgVC;
In this method you have to provide just font name as string
Eg. msgVC.kHeaderTitleFontName = @"rockwell";
(Here "rockwell" is not a default font provided by iOS SDK, so first download the font file
then add into your project and info.plist)
The changed Header Text Typeface(Font) will be like below:

5. You can change background colour of List Item by defining and calling the method:
-(void) changeMainUserInterface:(XNotifyMessagesViewController*)msgVCObj;
In this method you have to provide just colour code string.
Eg. msgVCObj.kNotfMsgHexColorCode = @"#6C5353";
The changed List Item will be like below:
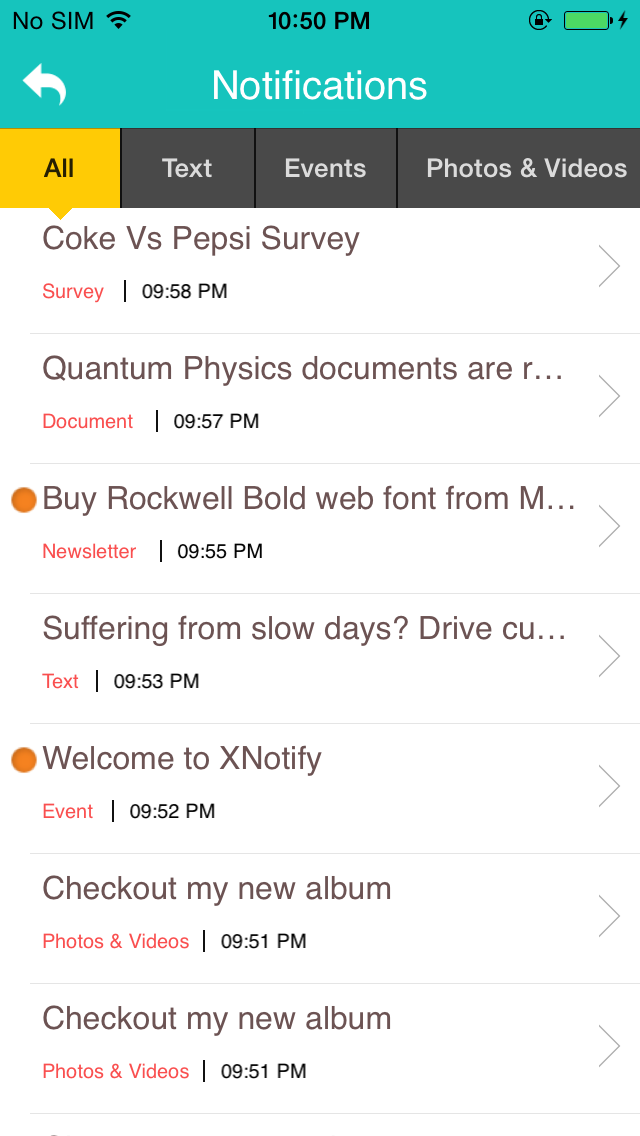
6. You can change List Item title text size by calling the method:
-(void) changeMainUserInterface:(XNotifyMessagesViewController*)msgVCObj;
In this method you have to provide just size as float
Eg. msgVCObj.kNotfMsgTextSize = @"16.0";
The changed List Item Title Text Size will be like below:
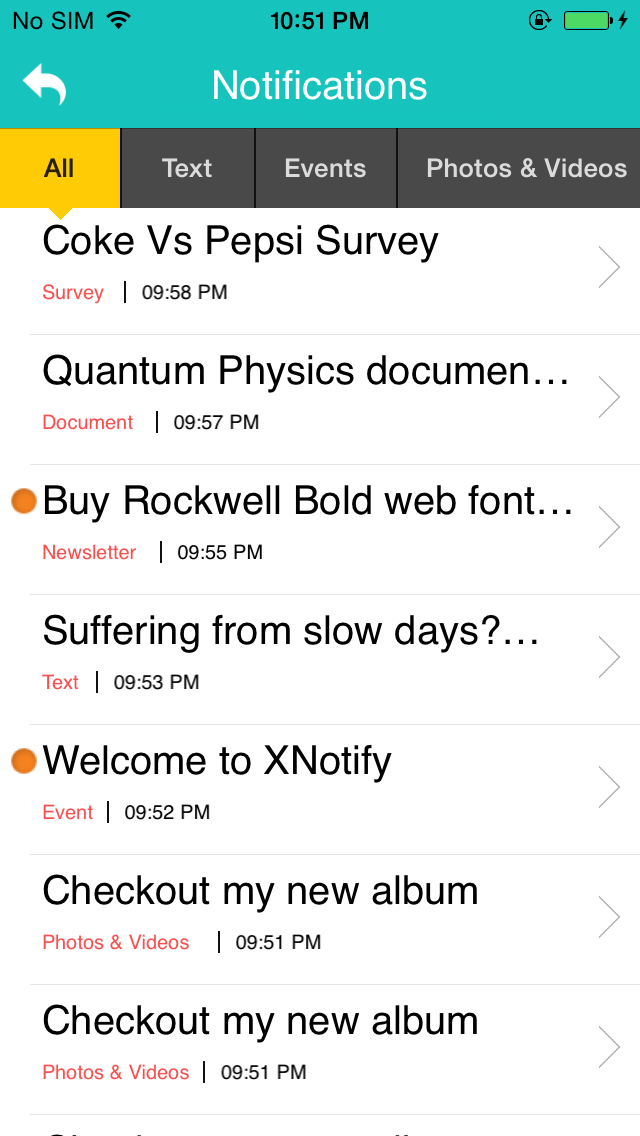
7. You can change List Item title text typeface (font) by calling the method:
-(void) changeMainUserInterface:(XNotifyMessagesViewController*)msgVCObj;
In this method you have to provide just font name as string
Eg. msgVCObj.kNotfMsgFontName = @"rockwell";
(This font like "rockwell" here should be default font or you have added its .ttf file into the
project and info.plist).
The changed List Item Title Text Typeface(Font) will be like below: